Tag Archives: DIY

Tips for Planning a Bathroom Update

Do you want to improve the aesthetics of your bathroom? Before you disrupt your household with the hassle of a remodel, make sure you’re prepared. Familiarize yourself with this cost and ROI overview to help guide the planning process.

What Does This Type of Remodel Cost?
The first step to organizing a bathroom remodeling project is setting a budget. Understanding the potential costs involved can help you decide whether you’re working on a complete overhaul or focusing your resources on a few select changes.

Homeowners who make bathroom updates usually hope to recover at least a portion of their investment. An upscale bathroom remodel is among the projects that see the largest percentages of value increase year over year. But a high-end revamp can cost tens of thousands. If you’re working with a more modest budget, going with simple changes like updates to light fixtures, sinks, toilets and the like can refresh your space for significantly less.

What Should You Change?
When planning bathroom renovations, it’s always smart to fix what’s broken first, especially since replacement projects see larger returns (74 percent) than remodeling ones (63.7 percent).

Once you’ve tackled any necessary replacements, make investment-savvy design selections that add value for you and your family. Trade out the garden tub for an expansive shower, add granite countertops or upgrade the vanity, ventilation or lighting. Finding what most benefits your family can lead to greater satisfaction years after the project’s completion.

With budgeting sense and some design know-how, you’ll have the confidence you need to initiate a successful bathroom remodel.


Powered by OutboundEngine

Featured Image Credit: “Gray Marble Bathroom” by Paintzen © 2016 (CC BY 2.0)

Urban Homesteading: 3 Ways to Produce Your Own Food

From backyard and rooftop gardens to community plots in parks and vacant lots, urban agriculture has become a nationwide movement, and more homeowners have taken an interest in producing their own food. For many urban homesteaders, it stems from a desire to know where their food comes from and live more sustainably.

Are you interested in participating? These three small-scale projects are great places to start.

Raising Backyard Chickens
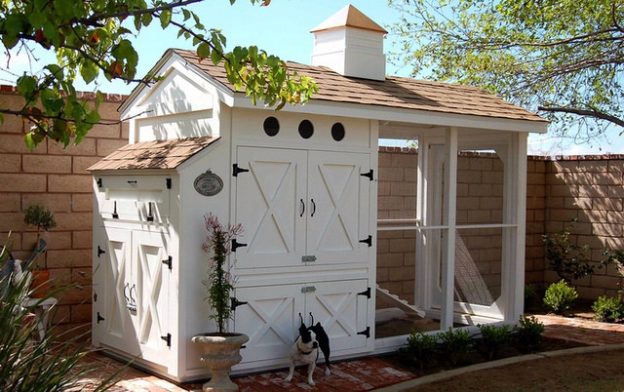
Chickens provide a relatively inexpensive, low-maintenance way to feed your family, plus they act as complimentary fertilizer and chemical-free pest control. Before you buy baby chicks, make sure you research and follow local laws, city ordinances and homeowner association rules. Get inspired by the luxe chicken coop design above and then check out these DIY tips to build the perfect home for your feathered friends.

Taking Up Beekeeping
In the 1940s, America had five million beehives, and today, roughly half of those remain. A growing awareness of this drastic decline has led to an increase in urban beekeeping, to the tune of approximately 120,000 backyard beekeepers.

Becoming a beekeeper starts with a lot of research, followed by choosing the right equipment and bees. Don’t want to care for an entire colony? Plant native flower and weed varieties that help encourage bee pollination and reproduction.

Gardening and Canning
Whether it’s a large plot or a small section, a personal garden gives you control. Plus, you can preserve fresh fruits and vegetables via the canning process. While many homesteaders use yields from their garden, others buy extra produce in its peak season. Canning veggies and fruits is a family-friendly activity that lets you enjoy seasonal produce all year long.

Though urban homesteading may seem intimidating at first, it’s easier to start small. The projects above can help minimize your impact on the environment and allow you to take part in your own food production.


Powered by OutboundEngine

Featured Image Credit: “Chicken coop” by SoniaT 360. © 2015 (CC BY 2.0, via Flickr)

Adding Privacy to Your Patio or Yard

A yard or patio is the perfect spot for enjoying the outdoors, whether that means playtime with your kids or quiet relaxation after a long day. And while you may like your neighbors, you may not want to see and hear them every time you venture into your backyard. If more privacy interests you, consider these options below:

Fencing — Probably the most straightforward solution, fences have long been the go-to for homeowners seeking seclusion. Be sure to check city ordinances and HOA policies before installing one.

Hedges — Shrubs like boxwood and privet are commonly planted along property lines. Choose an evergreen variety for year-long privacy. Make sure it’s suited for your climate and matures to your desired height.

Screens — Stylish and effective, folding wood-panel screens add a nice visual element while blocking unwanted views. Opt for a weather-resistant screen designed for the outdoors.

Trellis — The lattice configurations on these simple wooden structures offer an element of privacy. They’re also a perfect host for climbing vines and plants if you’d like additional coverage. Just be sure to check the sunlight and care requirements for the vegetation you plant.

Pergola — A pergola helps block views from second-story windows and balconies. It can be as simple or intricate as you’d like and will offer a degree of shade along with privacy.

Drapes — Budget-friendly and chic, panels help screen off your patio and can be moved as desired. Make sure the fabric is suitable for outdoor use or spray it with a water-resistant coating.

Vertical Garden — If you’re looking to increase privacy and also want to grow your own herbs, consider a living wall. You can buy prefabricated tower planters for easy installation.

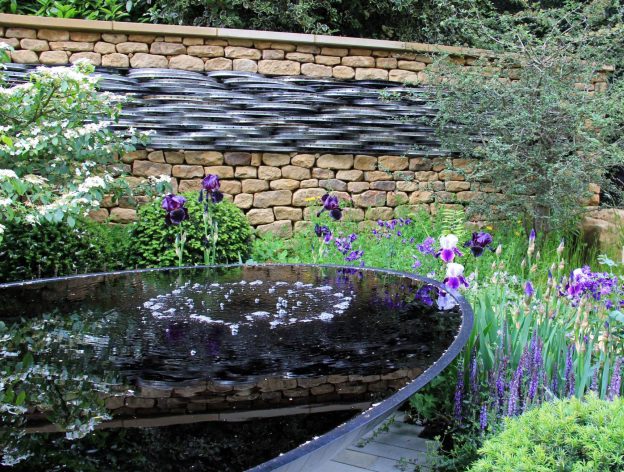
If neighborly noise is a problem, a water fountain is a relaxing, sound-muffling solution. Consider your outdoor space and choose the privacy-adding options that work for you.


Powered by OutboundEngine

Featured Image Photo Credit: “RHS Chelsea Flower Show 2014” by Karen Roe © 2014 (CC BY 2.0)

Simple Homemade Cleaning Solutions

Whether you’re looking for greener ways to clean your home or you just want to save money at the store, there are simple household cleaning products you can make on your own. Use the recipes, tips and precautions below to help you get started.

All-Purpose Cleaner
Create your own inexpensive and effective all-purpose cleaner with liquid castile soap, tea tree oil, vodka, washing soda (not baking soda) and white vinegar. Boil the vinegar in the microwave, mix in the remaining ingredients according to the recipe and put the solution in a spray bottle for easy cleaning.

Laundry Detergent
Avoid questionable foaming agents and heavy fragrance by making your own laundry detergent. Measure the correct amounts of soap flakes or grated bar soap, borax and washing soda, and store in an airtight container.

Tips to Keep in Mind

  • Avoid mix-ups by labelling and dating each cleaning product when it’s made.
  • Add a few drops of essential oils like tea tree, lavender and lemon to scent your homemade cleaning solutions.
  • Substitute vodka for vinegar if you want a lighter smell.
  • Before using a homemade cleaner on delicate surfaces like hardwood floors or marble, first test it in a small, hidden area.

What to Avoid

  • Do not mix bleach with ammonia or vinegar. The dangerous combination can damage your respiratory system.
  • Keep hydrogen peroxide and vinegar separate at all times. Together they create peracetic acid, a highly corrosive compound that can lead to chemical burns.
  • Don’t use vinegar on reactive metal surfaces like aluminum or cast iron.
  • Refrain from using large amounts of any cleaning solution, homemade or store-bought, in unventilated areas.

When mixed and used properly, homemade cleaning solutions can work as well as, if not better than, commercial cleaners, plus they’re also easier on your wallet. Make sure you know the basics before you make your own cleaning products.


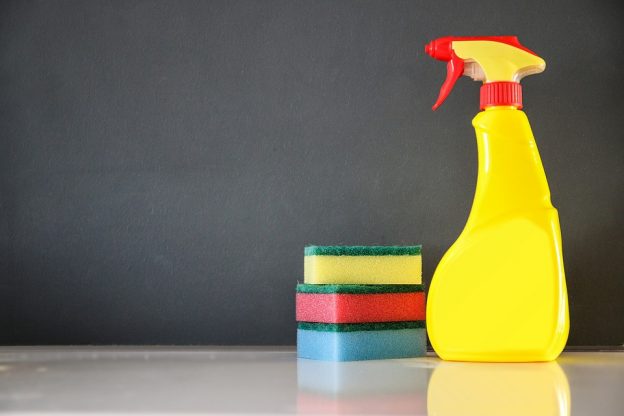
Photo Credit: “cleaning-268134_960_720” by Aerin Aichi © 2016 (Public Domain)

Powered by OutboundEngine

DIY Fall Decor for Your Home

Looking to spruce up your home for fall, but on a budget? We have scoured Pinterest for the best home made decoration tutorials. Get festive with these DIY projects!

Flickr Creative Commons: Tambako The Jaguar (CC BY-ND 2.0)

Flickr Creative Commons: Tambako The Jaguar (CC BY-ND 2.0)

1. Fall Mason Jar VasesHometalk

Mason jars are so popular right now! The cheapest place to find them (other than online) is at your local hardware store! These DIY vases simultaneously exciting and classy.

2. Pumpkin Flower Pot iheartnaptime

Add some color to your font porch! This is also a great way to use old plastic pumpkins that are lacking character.

3. [Sparkly] Autumn Leaves GarlandDesign Envy

Using neutrally colored sparkles gives these tacky fake leaves a stunning look. This garland would look great over a fireplace, or in your entryway.

4. Canning Jar Ring PumpkinYellow Bliss Road

Now that you have all those mason jars from DIY #1, you can use the rings to make a pumpkin! This very clever idea has a wonderfully rustic feel.

5. 2×4 PumpkinsAlayna’s Creations

This very simple DIY looks fantastic! They would look great on your front steps or mantelpiece. And you only need a few materials!

6. Fall WreathCreate & Babble

A wreath is a common item found on front doors, but with this tutorial you can add your own personal style! This wreath has a more natural feel to it, but you could add glitter or gems to spice it up!

7. Painted AcornsHome Stories A to Z

These cute little accents are great for adding to vases or garnishing tables. The best part is you can paint them to match whatever you’d like!

8. Yarn Wrapped Candy CornThrifty Decor Chick

Such a great idea! Only two materials necessary – yarn and foam! Great for a centerpiece!


Did you give any of these a try? Do you have a tutorial of your own that you would like us to share? Let us know!

Have you checked RNR Realty out on Pinterest yet? We have a whole board dedicated to DIY projects for your home here!


Spark Up Your Yard for an Unforgettable Fourth of July Celebration

Flickr Creative Commons: eric wittman

You know the new saying, ‘Pics or it didn’t happen!’ Everybody is snapping photos of everything they do, everywhere they go. Make your Fourth of July celebration photo-worthy with these DIY tips!

1. Create a photo station!

Make an awesome place to take photos that capture the patriotism and hilarity of your friends and family this Fourth of July.

Flickr Creative Commons: Steve Depolo

Start with the backdrop.

Find yourself a roll of butcher paper, drafting paper, or large poster paper. Make sure it is big enough so a group of people can fit in front of it for a photo. Having trouble finding it? You can purchase it here. To decorate the backdrop, get some red, white, and blue paint (and probably some glitter, because.. glitter) then splatter paint the paper to get the effect of fireworks. For a messy and fun way to splatter paint, try this tutorial.

If you don’t feel like making a background, an American flag works great too!

Put the backdrop up near where people will be hanging out. It could be on the side of your house, on a shed or a fence.

Now for the props!

Flickr Creative Commons: Randy Robertson

No good photo booth is without an abundance of props! Cut paper flags, Statue of Liberty crowns, Uncle Sam hats, etc, and tape them to wire or wooden grill skewers to create fun props to take pictures with! Additionally, purchase some sparklers to make your photos really glow! For inspiration, or to purchase already made props, check out this etsy shop.

Put a basket of disposable cameras near the station, or if you really trust your friends, a digital camera with a timer!

2. Food

Flickr Creative Commons: Ginny

Now that your photo station is complete, we can move onto the food! Here is a list of delicious and festive recipes that your guests will love!

For lunch recipes, click here.

For adult beverage recipes, click here.

For dessert recipes, click here.

3. Activities!

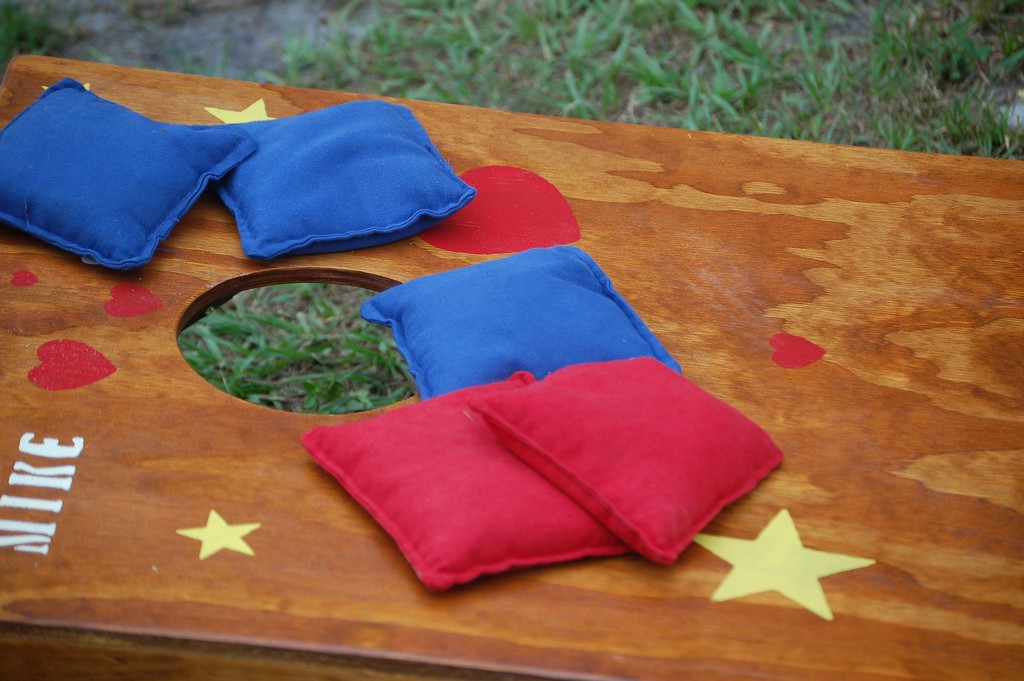
Alright you have a killer photo station, and stellar snacks. What else do you need? Games! Get a volleyball net, a bocce ball set, coy boy golf, or any kind of yard games you think your guests will enjoy. If you are feeling up to another DIY project, check out this tutorial for yard Jenga! It’s like regular Jenga, except bigger (and you have to be careful not to let it come crashing down on your toes!)

Flickr Creative Commons:  Erik (HASH) Hersman
Flickr Creative Commons: Erik (HASH) Hersman

Continue reading

Tips for Choosing the Right House Color

Choosing a new house color can be quite tricky. It takes some thinking and observation.  We’ve gathered some pointers that can hopefully help along the way to choosing the perfect color for your dream house.

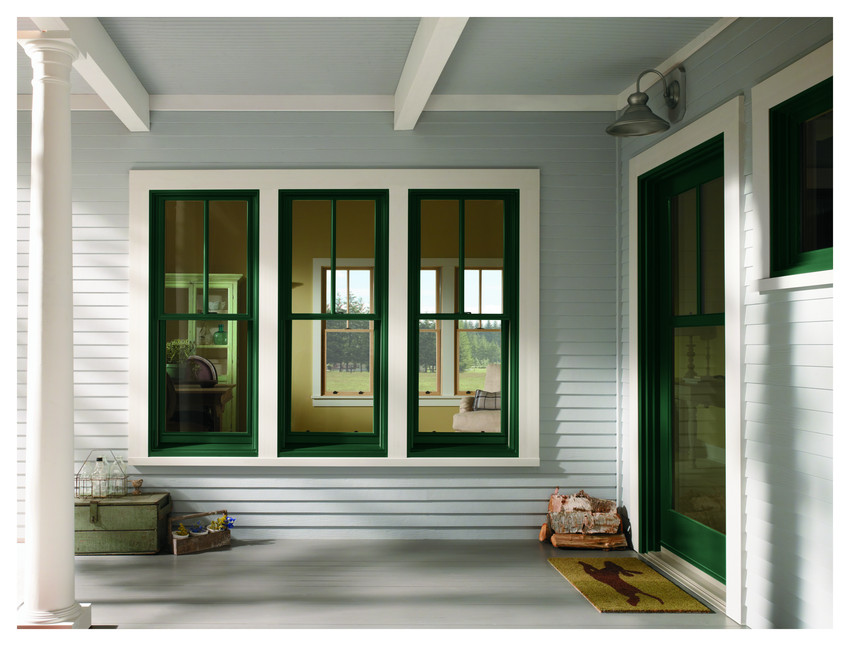
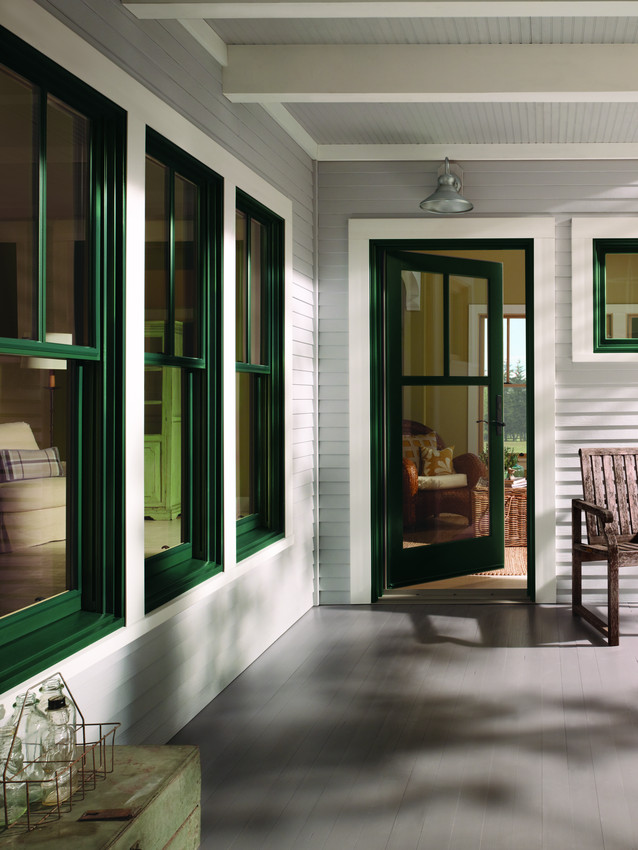
1. Accentuate

5621909750_4f81f6b802_o

Photo by: Andersen Windows / Flickr: Creative Commons

5621909766_fe0017d8c1_o

Photo by: Andersen Windows / Flickr: Creative Commons

That’s right. Accentuate architectural details like window trim in a contrasting color, which in return will add character and charm. It’s always a good idea to emphasize your entryway.

2. Trends

Unlike fashion or sporty car models, color houses seem to stay in style for years. For that reason, what you choose today most likely will still be trending the following day, or even year. Take a walk around your neighborhood, or other neighborhoods that have caught your eye and observe the colors other use. You might get new color ideas, and find they work perfect for your house.

3. Dark vs. Light

Photo by: John / Flickr: Creative Commons

Photo by: John / Flickr: Creative Commons

Consider that darker lights in the lower portion of a house can suggest permanence and stability. Lighter colors make a house appear larger in size and more inviting. Know what you want your house to portray and go from there. It is after all, a reflection of you.

4. Don’t accentuate the wrong things

If you have air conditioning units or gutters, you might want to work them into the house. Don’t work around them, make them work for you. Don’t accentuate them in anyway, just the opposite , try to drive the eye to the better assets your house has. Again, emphasizing on the entryway is always a must.

5. Don’t ignore the neighbors.

Photo by: Daniel R. Blume / Flickr: Creative Commons

Photo by: Daniel R. Blume / Flickr: Creative Commons

Be creative. If you’re one to always stand out, do so. However, when choosing a color don’t choose one that will clash with your neighbor’s. When you take a stroll around the neighborhood, look at the other colors the neighbors use and try to find that median, where you find a color you’ll be happy with, yet also mesh well with the neighborhood’s colors.

6. Don’t ignore the landscaping

Take into account everything that’s around your house. The color you choose might help bring out those beautiful flowers you work so hard to grow. Compare and contrast earth tones if you have a lot of greens growing around you.

7. Do not wing it

Photo by: Erik Söderström / Flickr: Creative Commons

Photo by: Erik Söderström / Flickr: Creative Commons

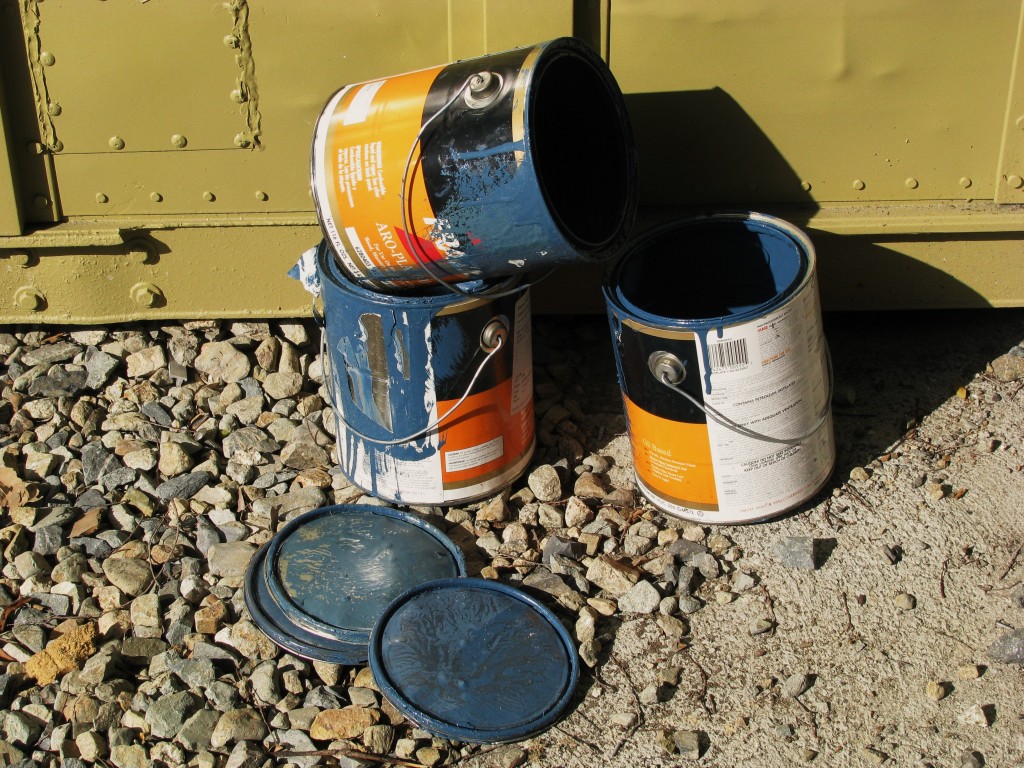
This is something that not only you’ll have to live with everyday but, also other people. Plan it out at the best of your abilities, and don’t be scared to paint a small portion of the house with the colors you’re considering. At the end, you’ll be sure you got the right one.


Processed with VSCOcam with c1 preset

Photo by: Loren Kerns / Flickr: Creative Commons


Well dear readers, this is where we end our post. Do let us know if any of these tips helped you out at all. Feel free to comment below the steps you took before choosing your house color, and why you decided on that color? We’d love to know!


Find the original article here