Category Archives: DIY

Spring Cleaning Projects

After a long winter and piles of snow, spring brings warm days and sunshine. It is a perfect time to start home projects and spring cleaning.

Outdoors
Before you do anything else, check the windows, screens, and doors for any damage.
Then you can start cleaning the yard; if you haven’t raked leaves in the fall, now would be a good time. After you remove all the debris, you can trim tree branches and start planting new trees if you’d like to change or add to your landscaping.
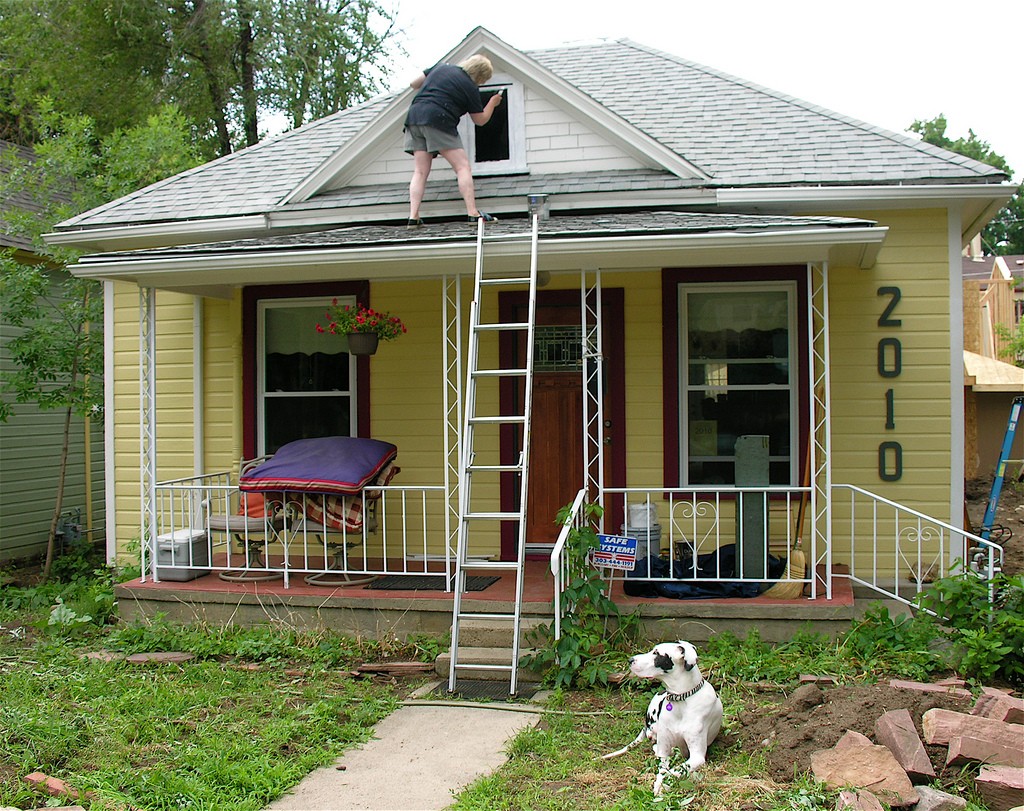
Next step would be roof and gutter cleaning. Make sure to examine roof for any damage, see if shingles are missing and remove all the debris. Winter winds blow leaves and pine needles into gutters which can cause rainwater overflow. Remove all the debris and use a hose to clear the remainder dirt.
Leaves and other debris and grime collects on the decks, to clean that you can use a pressure wash. It is also important to reseal the wood, it will not only make it look more fresh, but also protects wood and helps it last longer.
Indoors
Cleaning rugs and carpets might be the first thing you would want to do. You can either rent a carpet cleaning vacuum/machine or hire a professional company. Also clean windows inside and out; it is better to do it on a cloudy day, since cleaning solutions might dry too quickly.
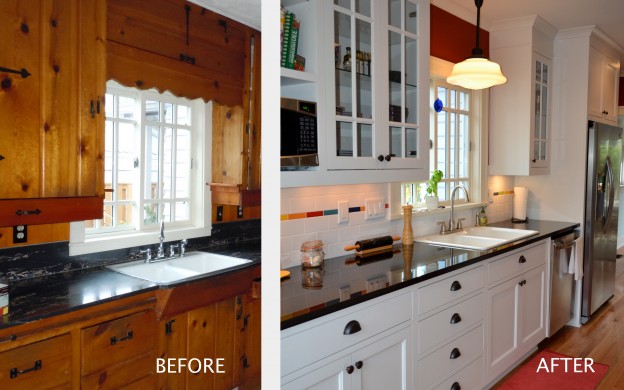
Depending on your budget, repainting might be another way to freshen up your home. Updating your kitchen and bathrooms such as new lights, new hardware, it will not only make it look better, but also will add value to your home.


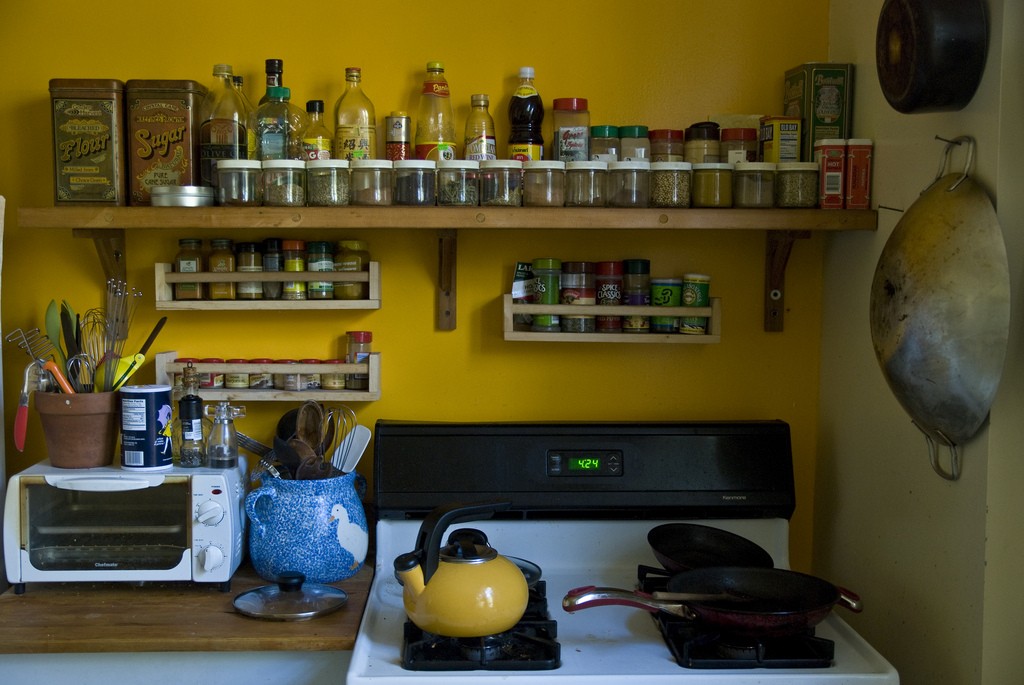
Flickr Creative Commons: Nathan Siemers (CC BY -SA 2.0)
All photos used under this license.

Tips for a Successful Property Rehab

Rehabbing a house is not an easy task. It is very difficult to avoid making mistakes, especially if doing it first time. Here are some tips that can help avoid turning a rehab into a disaster.

Get a home inspection. You might not want to spend extra money on home inspection and would prefer to conduct an inspection on your own, but there is a chance you might miss some hidden damages. They are easy to overlook as they might be covered by decor items or clutter, and, in the end, it will end up costing more than hiring a professional home inspector. Not only it will help you avoid trouble later on, but also will give you a good idea on how to spread your budget.

Make sure to get all the needed permits. Permits are needed not only for general projects, but also for plumbing, electricity, and roofing. In many cases this is what causes a lot of trouble. So make sure to go to the local county and get all the necessary permits to start remodeling.

Picking cheap materials, finishes. With unexpected expenses in the process or a tight budget, many choose to save on materials and finishes. Some choose to save on countertops and hardware or even thinner walls, but all it will do is make the property look very cheap or it will need repairs soon, thus it will be difficult to sell.

Trying to save money and doing it yourself. Some might be tempted to save money and try do to some projects themselves. It might not be a good idea if you are not a professional. It’s better to pay someone experienced to complete the project correct the first time, than spending money and time redoing it.

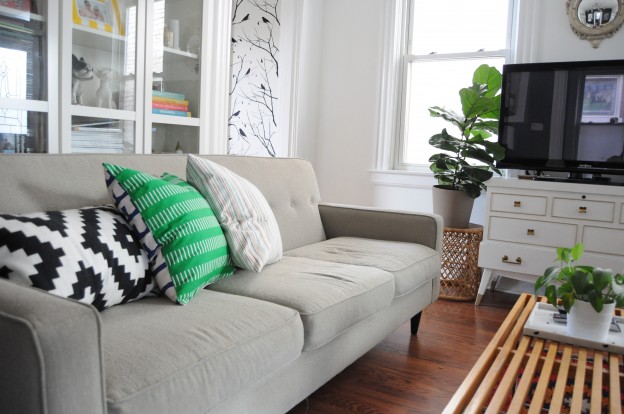
Decor items. Keep in mind that it is important to appeal to the average home buyer. You will want to pick neutral colors, such as beige or off whites. Also, make sure you use the paint that will withstand humidity in the bathrooms and utility room,s and will also be easy to clean. Remember, first impression is key, so make sure the house is clean, warm and cozy!


Flickr Creative Commons: Sitka Projects
All photos used under this license.

Winter DIY Home Improvement Projects

If you are looking to improve things around the house then why not do it during the cold months. Chances are you will be stuck inside and it might be the best time to do some home improvements, which might save you money on energy bills and increase property values. If you are up for some handy work during these cold months, here are some project ideas.

While you are inside, why stare at those boring walls all winter season. Give them some fresh life with paint. Yes, you can paint during the winter months; there is a variety of environmentally friendly and waterborne paint to choose from, and this way no windows need to be open, because there are virtually no fumes. In addition, dry air will help the paint to dry quicker. Another little touch you can add is crown molding, which will change the look and feel of the whole room. In addition to paint, wall paper is making a comeback; if the wall paper doesn’t fit your style, you could add vibrance by creating strips and patterns.

10481741576_3263b18b25_o

Flickr Creative Commons: United Soybean Board (CC BY 2.0)

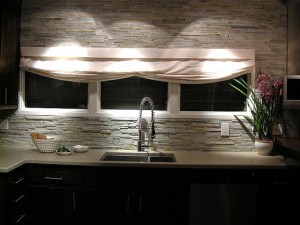
Another great improvement that can be done in the winter is work on the kitchen. Adding backsplash can add character to any kitchen and make your counter tops stand out. If you do it yourself, be careful, mistakes can happen, such as not spending enough time to prep and lay out patterns beforehand, and that can lead to irregular lines and spaces. At times, it may be better to call a professional.

4419327831_a7a2a64e4a_o

Flickr Creative Commons: Granite Charlotte Countertops (CC BY 2.0)

Next great winter home project is to refurbish interior doors. They have a big visual impact; thus, by modernizing them you will keep everything looking updated. Some budget ways to freshen the doors are to paint them, change the doorknobs, or add molding to the ones that do not have it.

Whatever you do this winter, whether it is painting, wall papering, adding backsplash, or refurbishing interior doors, it should add a new look to your house which should increase the value of your house. If you are going to invest time, energy, and a little bit of money, make sure it is right the first time.

All photos used under this license.

5 Easy Ways to Lower Your Water Consumption Costs… and Help the Environment!

3188256345_6b41c4d47b_o

Flickr Creative Commons; Nick Nguyen

If paying a high water bill matters to you, and if saving money is essential, then this post and articles attached will be a money saver. Here are 5 easy tips on lowering your water consumption costs.

First, try to take shorter showers. Although we enjoy longer showers here and there, too many can be strain on your pocketbook and the environment. Another way to save is to not let the water run during showers or get water-saving showerheads.

Second, try to avoid running your dishwasher or washing machine on half full. That is huge waste of much needed water, plus that is a money spender. It would be better to wash dishes by hand and turn off the water off in-between each dish, yes, more work, but your wallet will thank you.

Third, look for and fix leaks around the outside and inside, look for those leaks that causes loss of water. You may not think it is a problem, but those small leaks can add up over time, even if you have a drip every minute, that is 60 drips in an hour!

Fourth, water your lawn only when it needs to be watered; also, don’t run a hose while washing your car.

Fifth, while brushing your teeth, if you can, turn off the faucet. By creating the imbalance of brushes verses water expediter, that’s a lot of unnecessary water expenditure.


All photos are used under this license.

DIY Fall Decor for Your Home

Looking to spruce up your home for fall, but on a budget? We have scoured Pinterest for the best home made decoration tutorials. Get festive with these DIY projects!

Flickr Creative Commons: Tambako The Jaguar (CC BY-ND 2.0)

Flickr Creative Commons: Tambako The Jaguar (CC BY-ND 2.0)

1. Fall Mason Jar VasesHometalk

Mason jars are so popular right now! The cheapest place to find them (other than online) is at your local hardware store! These DIY vases simultaneously exciting and classy.

2. Pumpkin Flower Pot iheartnaptime

Add some color to your font porch! This is also a great way to use old plastic pumpkins that are lacking character.

3. [Sparkly] Autumn Leaves GarlandDesign Envy

Using neutrally colored sparkles gives these tacky fake leaves a stunning look. This garland would look great over a fireplace, or in your entryway.

4. Canning Jar Ring PumpkinYellow Bliss Road

Now that you have all those mason jars from DIY #1, you can use the rings to make a pumpkin! This very clever idea has a wonderfully rustic feel.

5. 2×4 PumpkinsAlayna’s Creations

This very simple DIY looks fantastic! They would look great on your front steps or mantelpiece. And you only need a few materials!

6. Fall WreathCreate & Babble

A wreath is a common item found on front doors, but with this tutorial you can add your own personal style! This wreath has a more natural feel to it, but you could add glitter or gems to spice it up!

7. Painted AcornsHome Stories A to Z

These cute little accents are great for adding to vases or garnishing tables. The best part is you can paint them to match whatever you’d like!

8. Yarn Wrapped Candy CornThrifty Decor Chick

Such a great idea! Only two materials necessary – yarn and foam! Great for a centerpiece!


Did you give any of these a try? Do you have a tutorial of your own that you would like us to share? Let us know!

Have you checked RNR Realty out on Pinterest yet? We have a whole board dedicated to DIY projects for your home here!


Four Days to a Clutter-Free Home

Life is crazy. With all the chaos that comes from constantly being on the go, our homes can become a disaster. On the days you might have a little time to yourself, you are too tired to care that every surface of your home is piled with papers and junk. Yay adulthood. It is time to take control of that clutter! All you need is one hour a day, for five days, and your home will be organized! Throughout the article you will notice I included steps which require you to purchase something, this is not necessary, but can be very helpful! Make sure to read through all the steps before you start, especially step four!


Flickr Creative Commons: Emily May

Flickr Creative Commons: Emily May


Day 1:

Let’s start in the bedroom – the place you begin and end each day. First, identify your biggest problem area. For some people, it is the closet, for others, it’s their bedroom floor. Or maybe it is everywhere? Well, the first step for every room is to get rid of everything you do not need. This process can be difficult, but after the stuff is gone, you will feel liberated. There are so many things cluttering our homes that we use less than once a year. You do not need these items, and you will not miss them. Keep telling yourself that.

Never underestimate the power of making your bed. This should be the first step to organizing a bedroom. It will set the tone of the room, and give a space to lay things out if you need to.

Now get two bags or bins, make a throw away pile, and a donate pile. If you feel it’s necessary, you could also have a ‘sell’ or ‘maybe’ pile. Go through your closet, your dresser, under your bed, everywhere. Anything you have not used in six months goes into one of your bins. (Unless you live in a state like Minnesota where your clothing depends heavily on the weather – just because you haven’t worn your winter coat in six months does not mean you should chuck it out).

This step cannot be stressed enough. You do not need twenty three sweatshirts, especially if fifteen of them are from high school. You also do not need those hair scrunchies from 1985. Or all those old issues of your favorite magazine.

Spend twenty minutes on this task. If you have a lot of excess, maybe thirty minutes. Hopefully after this, your room will already look better.

Now that all the extra stuff is gone, put things you are keeping where they belong. No more clothes on the floor, no more books on your nightstand, no more towels over your bed posts.. you get the idea.

Once you have everything where it belongs, the space will feel much better, and you will be more motivated to put things back where they go in the future. To make it easier on yourself, invest in organizational furniture, like a bookshelf, hooks for towels, a storage chest, or shelving units. If you have a convenient place to put your books, scarves, etc, you are more likely to put it back where it belongs. To save money, go to thrift stores and consignment stores to get these items. The dollar store also sells small bins and hooks for a good price. 3M hooks are also a major space saver. They can be used to hang coats, purses, jewelry, and towels.

Need help organizing that closet? Here are some awesome solutions.
 

Flickr Creative Commons: zhelen

Flickr Creative Commons: zhelen


Day 2:

Now for the living room. This is probably the room with the most clutter of any. The first step again is to get rid of all the extra stuff. A lot of the stuff in living rooms doesn’t belong in there – old newspapers, dirty cups and bowls, a craft project, a ukelele.. all sorts of items end up in our living room. Again make a donate pile and a throw away pile. Get rid of everything you do not use, and put things like dishes away where they belong.

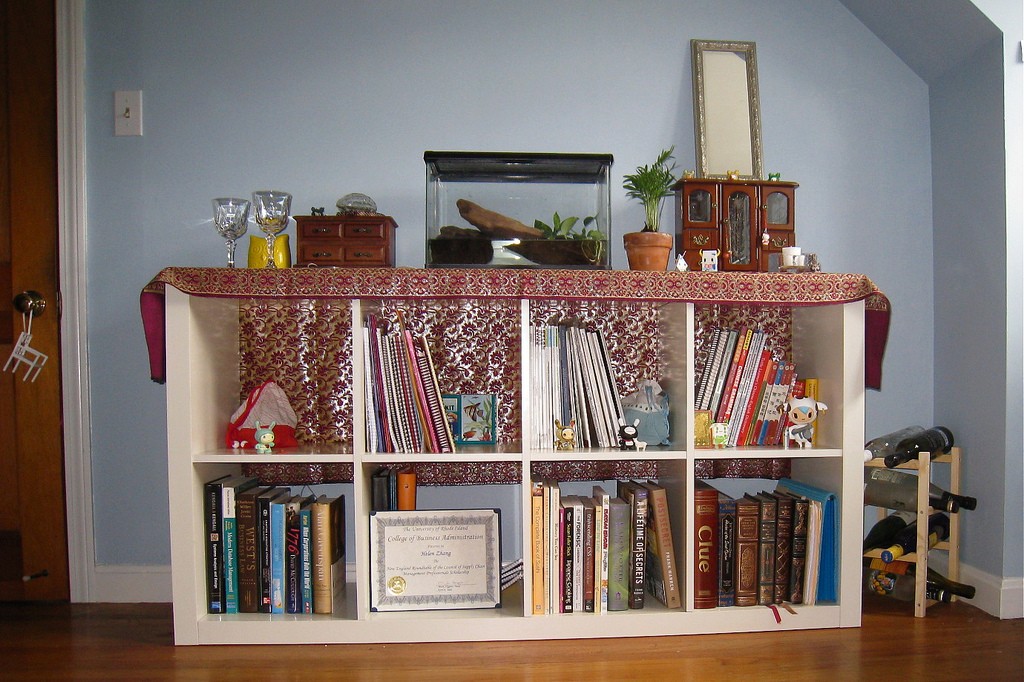
Okay so you got rid of things that do not need to be in your living room, but what to do with all the things that still go there? Most people have at least three remotes, a couple blankets, and if you have kids.. let’s not even get started with the amount of stuff in your living room. The best solution for your living room is some sort of bin system. Ideally, the shelf with all the square cubbies each containing a basket, you know the one? Those rock. Each kid can get their own basket or two to keep stuff in, another basket can be for blankets, another for dog toys, etc. However those shelves can take up a lot of space and actually be expensive. Instead, integrate organization into functional furniture. An ottoman that opens up is great for keeping blankets and photo albums. A coffee table with built in drawers is also useful.

If you go with an ottoman or coffee table that opens up, it is helpful to use small storage bins inside to keep everything organized. One container for Legos, another for batteries, etc.

Another option is a desk or hutch, either against a wall, or along the back of a couch. This provides a surface for plants or lamps, and the drawers provide extra storage. If you choose a desk without any drawers, you can place baskets or bins in the space underneath.

3M velcro strips can also be a useful tool to keep remotes and game controllers in place inside a drawer or cupboard.

For inspiration, this BH&G article has some really great ideas for storage ideas.


Flickr Creative Commons: ramsey beyer

Flickr Creative Commons: ramsey beyer


Day 3:
Kitchen! Okay the first step can be tough on your nose. Go through your fridge and cupboards. Get rid of all moldy Tupperware, expired foods, and stale cereal. Doing this once a month can really surprise you! Most people have at least two or three containers they forgot about in their fridge.

Now scan your counter tops for anything that doesn’t belong in the kitchen. Keys, dirty dishes, mail, and whatever else shouldn’t be there. If you don’t have a dishwasher, put away all the clean dishes in your drying rack. Put dirty rags and towels in the laundry bin. Wipe away crumbs and juice spills.

You kitchen appears to be organized now. Open those cupboards, still look clean? Who designed cupboards to be shaped the way they are? Nothing seems to fit in them the right way. This is where 3M hooks and other hardware really come in handy.

Here is a great resource for ways to organize your kitchen cupboards!


Flickr Creative Commons: Gerry Dincher

Flickr Creative Commons: Gerry Dincher


Day 4:

Day four is reserved for bringing all your donated items to the thrift store, and for implementing whichever hooks, shelves, bins, and other furniture you have decided on. Use this day to add the finishing touches to the organization of each room, and also to see areas that have already become chaotic since you de-cluttered it just days ago.

Please send us your ‘before and after’ photos! We might even feature you in our next blog post, or on any of our various social media sites!

Maintenance Tips to Protect Your Home Value


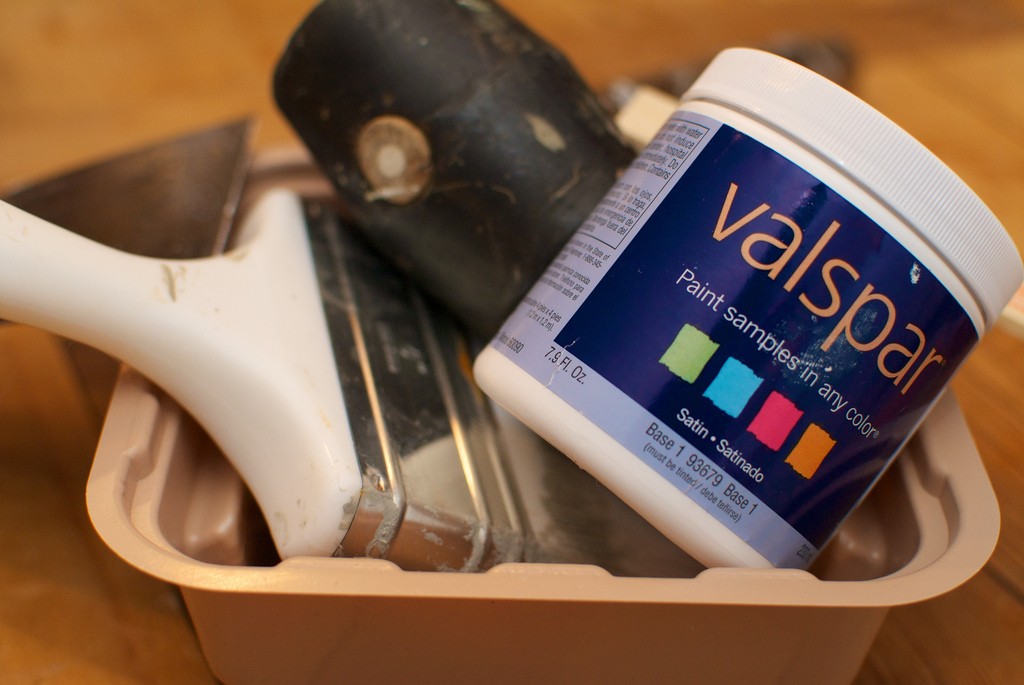
DIY home painting maintenance

Flickr Creative Commons: Jon Hurd

For many people, a home is without a doubt the most important investment they will ever make. There are many things to take into consideration before finalizing that decision. Just buying a real estate property is not enough. You must protect your investment with regular maintenance of the home. Cleaning every area of your home regularly and effectively is only part of the process. It is crucial to pay attention to your home and to never neglect your responsibilities in order to protect your investment.

This sounds simple, but over time you will realize that your place actually requires a significant amount of care, and constant attention. If you have a busy schedule, this could prove to a be problem for you. Sharing the responsibilities with the other members of your family is a good solution to the problem. At least when it comes to the cleaning, you can ask for help or simply hire professionals every now and then. If you truly want to protect your home value, here are some tips which will help you with the maintenance:

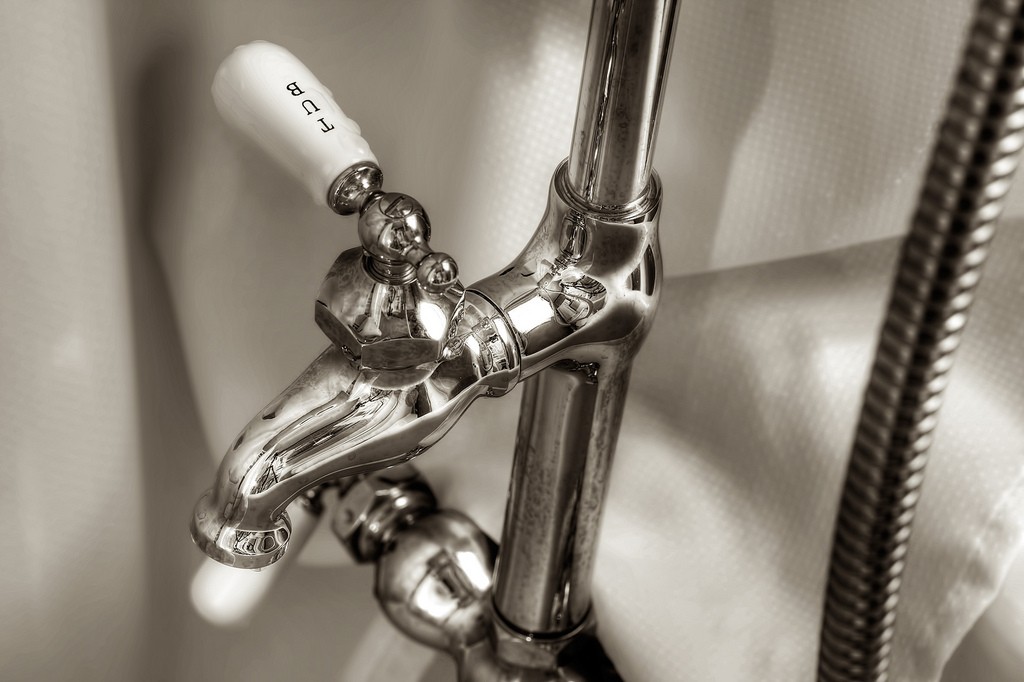
Tub plumbing black and white

Flickr Creative Commons: PhotoAtelier

  • Check the plumbing and other systems regularly – Most people forget to inspect the plumbing, electrical and other systems of their homes until a problem appears. Unfortunately, when that happens the damage could be hard to repair, not to mention that it would costly. In order to avoid the unnecessary complications, you should become knowledgeable with how to inspect pipes, taps and all other parts of the plumbing system of your real estate property. The same applies to fire alarms, light switches and other elements of the electrical system.
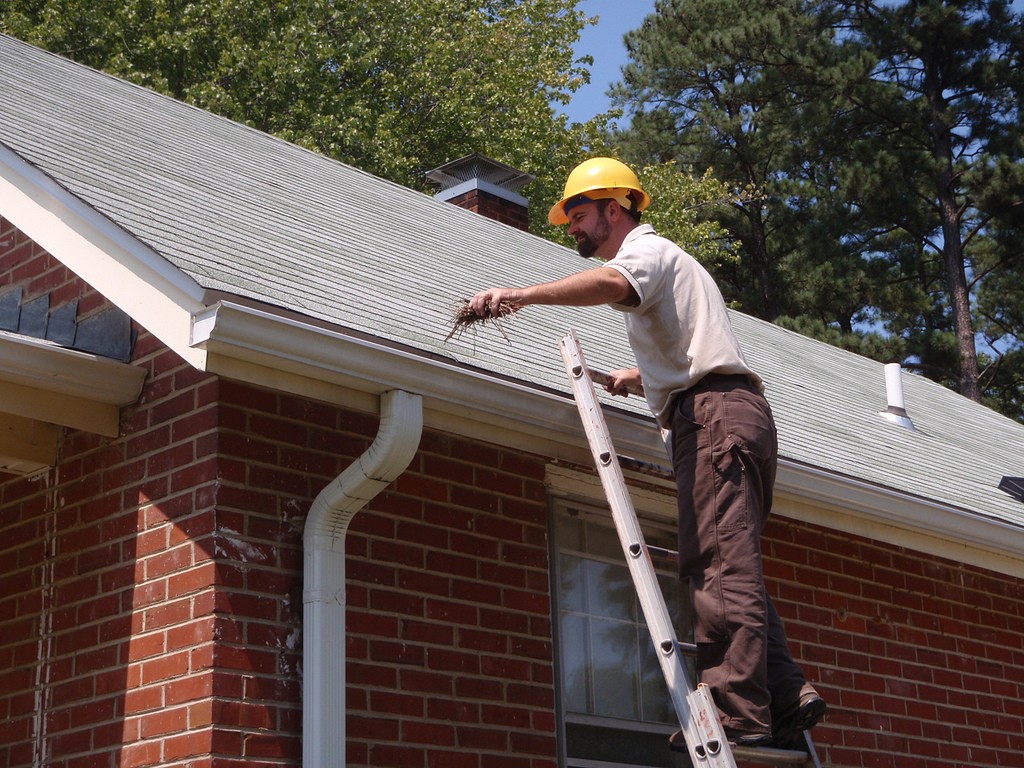
  • Clean the gutters every chance you get – Unfortunately, people often underestimate the importance of their gutters.They need to be cleaned and inspected regularly in order to maintain functionality for many years. In the event of a crack or more serious problem, the walls of your home could be seriously damaged. Don’t take the risk – simply pay attention to your gutters. Check regularly for damages by running water through the gutters, if they are clogged, get a latter and clean all the debris out of them.
fireplace

Flickr Creative Commons: Rob McCready

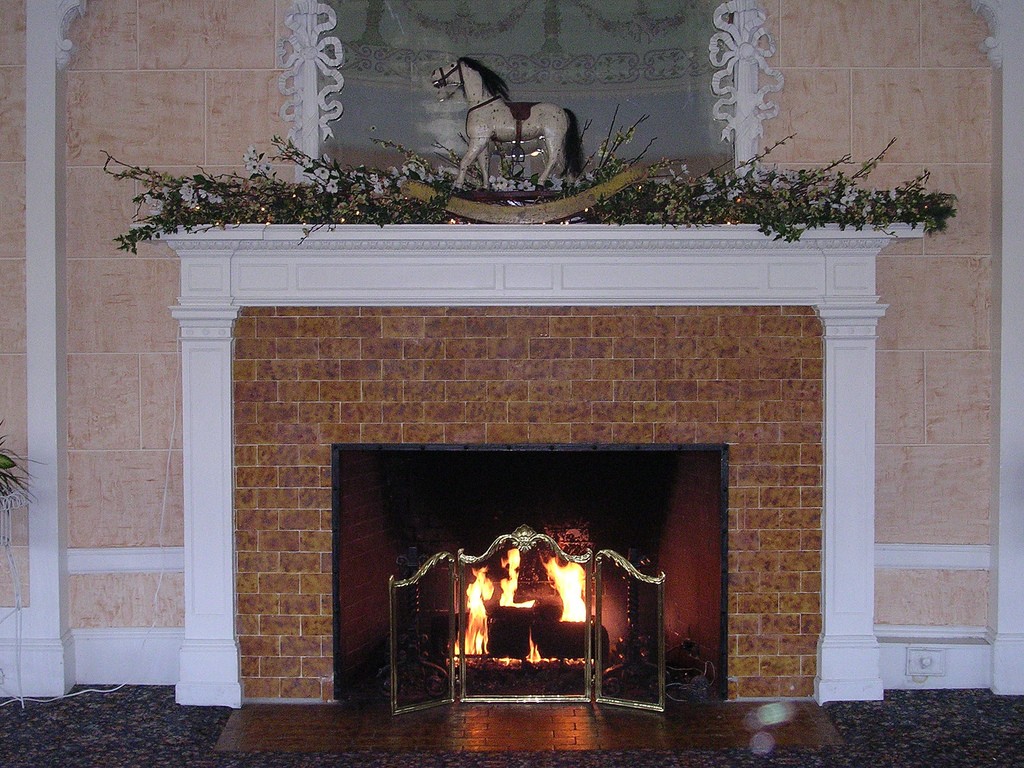
  • Inspect the chimney – The chimney is another important part of your home which needs special care. Even the smallest damage could cause serious problems and endanger your your family. That’s why you should inspect the chimney of your property at least once a year. Hiring professionals for the cleaning of this part of your home before the beginning of the burning season is also important.
Flickr Creative Commons: Pete Markham

Flickr Creative Commons: Pete Markham


  • Make renovations – Planning some renovations every few years will guarantee the longevity of your real estate property. It is not necessary to spend a lot of money for big renovations, it is enough simply to repaint one or more of the rooms in your place. You can save some money by doing those things yourself. It is not that hard once you learn to trust your instincts and get some useful tips from people who have already done it.


These tips will aid in the preservation of your home’s value and appearance. For more information, check out these helpful links.

Plumbers East London – London Plumbing Service
Gutter Maids – Minneapolis, MN Gutter Cleaning
The Art of Manliness – Handy Home Maintenance Checklist
This Old House – How to Paint your Home Exterior
Jack Pixley Chimney – MN Chimney Sweeps

Photos used under this license.


Spark Up Your Yard for an Unforgettable Fourth of July Celebration

Flickr Creative Commons: eric wittman

You know the new saying, ‘Pics or it didn’t happen!’ Everybody is snapping photos of everything they do, everywhere they go. Make your Fourth of July celebration photo-worthy with these DIY tips!

1. Create a photo station!

Make an awesome place to take photos that capture the patriotism and hilarity of your friends and family this Fourth of July.

Flickr Creative Commons: Steve Depolo

Start with the backdrop.

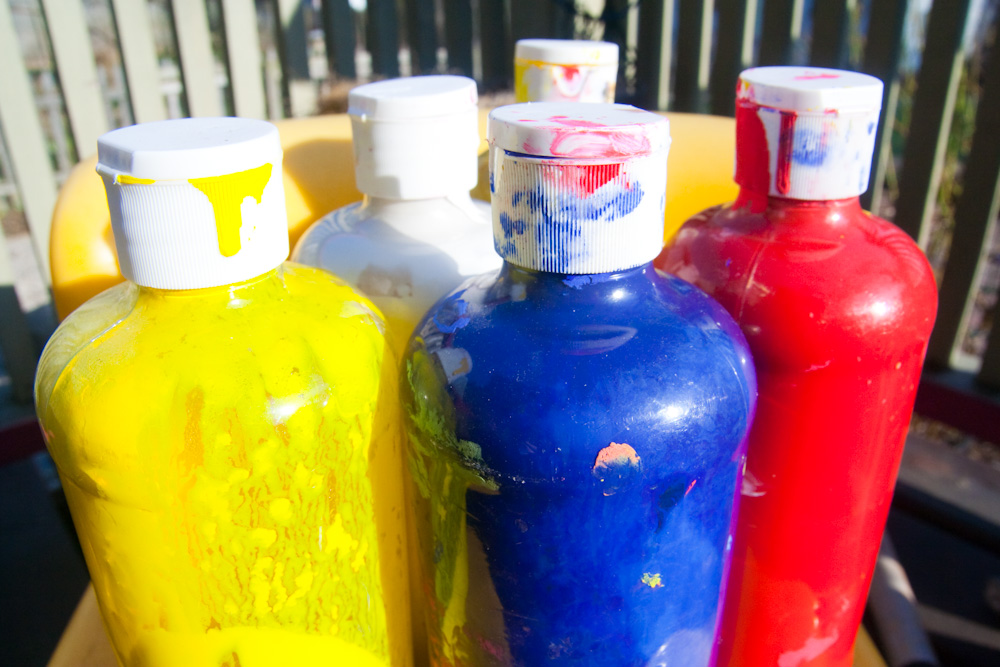
Find yourself a roll of butcher paper, drafting paper, or large poster paper. Make sure it is big enough so a group of people can fit in front of it for a photo. Having trouble finding it? You can purchase it here. To decorate the backdrop, get some red, white, and blue paint (and probably some glitter, because.. glitter) then splatter paint the paper to get the effect of fireworks. For a messy and fun way to splatter paint, try this tutorial.

If you don’t feel like making a background, an American flag works great too!

Put the backdrop up near where people will be hanging out. It could be on the side of your house, on a shed or a fence.

Now for the props!

Flickr Creative Commons: Randy Robertson

No good photo booth is without an abundance of props! Cut paper flags, Statue of Liberty crowns, Uncle Sam hats, etc, and tape them to wire or wooden grill skewers to create fun props to take pictures with! Additionally, purchase some sparklers to make your photos really glow! For inspiration, or to purchase already made props, check out this etsy shop.

Put a basket of disposable cameras near the station, or if you really trust your friends, a digital camera with a timer!

2. Food

Flickr Creative Commons: Ginny

Now that your photo station is complete, we can move onto the food! Here is a list of delicious and festive recipes that your guests will love!

For lunch recipes, click here.

For adult beverage recipes, click here.

For dessert recipes, click here.

3. Activities!

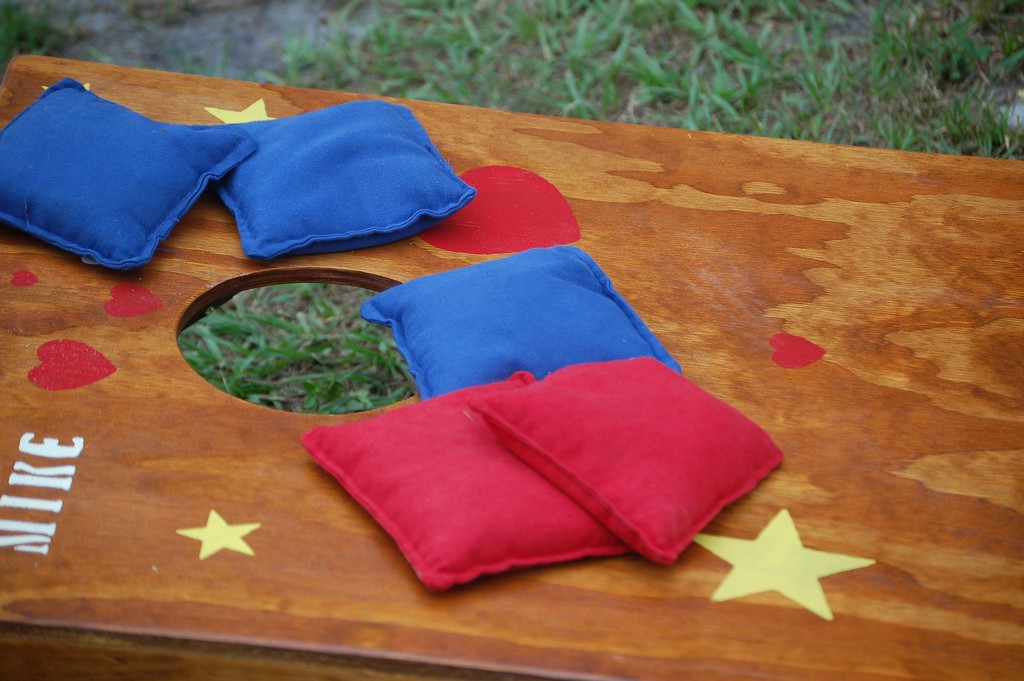
Alright you have a killer photo station, and stellar snacks. What else do you need? Games! Get a volleyball net, a bocce ball set, coy boy golf, or any kind of yard games you think your guests will enjoy. If you are feeling up to another DIY project, check out this tutorial for yard Jenga! It’s like regular Jenga, except bigger (and you have to be careful not to let it come crashing down on your toes!)

Flickr Creative Commons:  Erik (HASH) Hersman
Flickr Creative Commons: Erik (HASH) Hersman

Continue reading

DIY Citronella Candles, Easy and Effective!

By: Mary Gramer, Social Media Marketing Intern

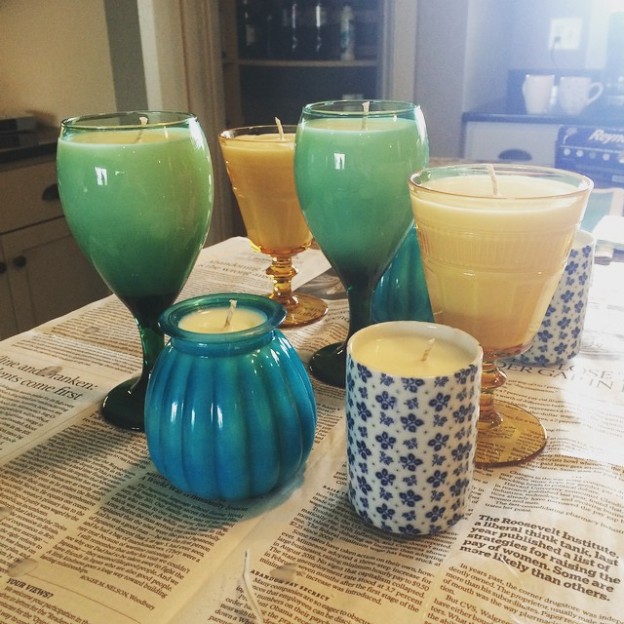
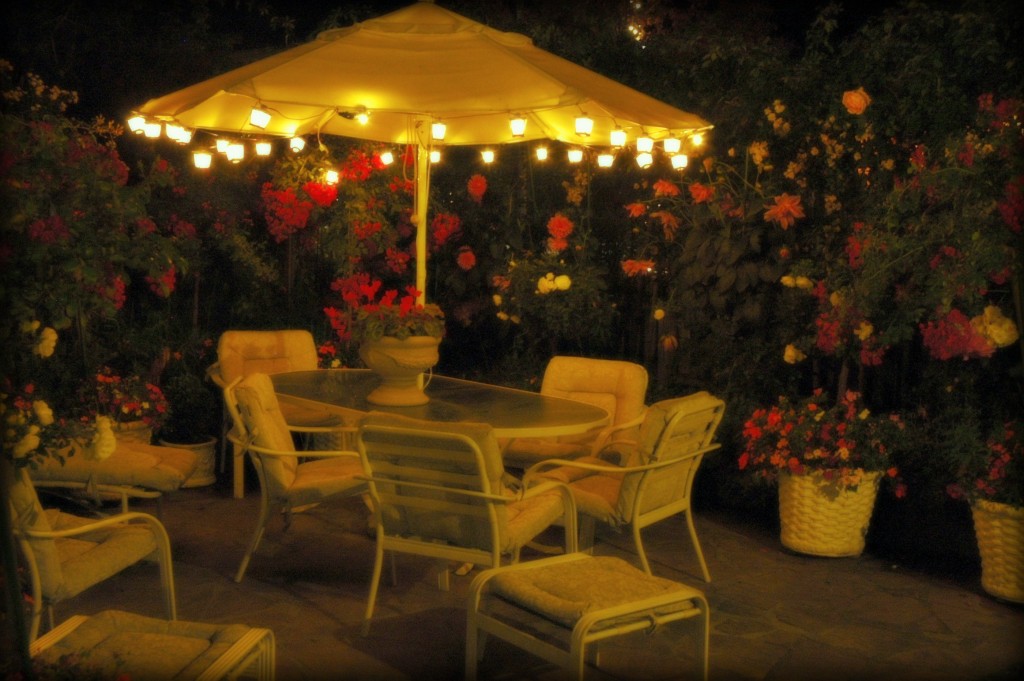
We all love to eat dinner outside on the deck, but as the sun sets, the bugs come out…  things can get a little less than enjoyable. Using bug sprays and store-bought remedies to keep the bugs away can be expensive and harmful to both humans and the environment. As a solution, I tried out making my own candles to use at my family’s lake home in Alexandria, Minnesota. They were extremely easy to make, and they turned out to be stylish and effective at keeping away those pesky mosquitoes!

Flickr Creative Commons: Katja Schulz

Flickr Creative Commons: Katja Schulz

How to make your own citronella candles!

Materials:

  • Vessels to make candles in (glasses, mason jars, tea cups etc)
  • Candlewax (soy or paraffin)
  • Wicks
  • Hot glue gun
  • Citronella essential oil
  • Other scented essential oil (optional)
  • Something to stir hot wax
  • Scissors
  • Sauce pan you are willing to sacrifice
  • Friends to help (optional, but strongly suggested)

Preparation:

The first step is to order the citronella essential oil. I do not have any stores near me that sell it, so I ordered it online from Amazon.com. I purchased a relatively cheap brand because the candles are to be used outside, and not in any topical manner, so I figured the quality was not super important. The kind I purchased came with two, 1 oz. bottles of the oil for $9 total. I used nearly all of both bottles to make the eight candles pictured above.

The second step is to acquire the rest of the materials. I purchased all of the vessels shown above at a thrift store. Each piece was a dollar or less. I spent a total of $7 on these items. I recommend purchasing thrift store items because it is both cost-effective and better for the environment! Additionally, you won’t feel bad if the flame from the candle gets soot on the container.

Next, I went to a chain craft store for the rest of the materials, which I would advise against. I paid $24.99 for 4 lbs. of soy wax chips, and somewhere around $5 for the wicks. I did not have enough time at this point to look for cheaper options online, but I am sure you can find cheaper wax on Amazon.com. The paraffin wax was indeed cheaper, but I chose soy because it burns cleaner.

Before you begin, I recommend lining your work surface with newspaper or something similar to protect your counter-tops/table.

Procedure:

First, I hot-glued the wick base, (the wicks had metal bases attached to the bottom), to the inside bottom of the vessels. Leave the wicks long; do not cut them to the right height yet.

Now start melting your wax. I put roughly 5 cups of wax into my pan at a time, and as it melted, added a little less than 0.5oz of the citronella essential oil. Here is where the other (optional) essential oils come into play. I personally did not add any other scents to my candles. The citronella was powerful, but pleasant. If you aren’t a huge fan of citronella, you could add some lemon or grapefruit to give it a less potent smell. Now give the wax a good stir. I used a clean paint stick because I was not willing to use any of my own spoons or spatulas.

Then let the wax cool down for a couple minutes in the pan. If the wax is too hot, it will melt the hot glue holding the wick down.

Now this is where friends come in handy.

I had some of my friends hold up the wicks slightly to the side as I poured the wax into the cups (be careful, the wax is hot). Then they took pens, and rested them over the vessels with the extra wick wrapped around them once or twice to keep them upright.

I repeated this process three times to fill all the containers. Wait 1-2 hours for wax to re-harden, then head outside, and grab a lighter to enjoy your new candles!

Flickr Creative Commons: Wonderlane

Flickr Creative Commons: Wonderlane

Results:

So to make 8 candles, varying in size from large to small, it cost me around $45. That is roughly $5.63 per candle, which is cheaper or equivalent to commercially made citronella candles, depending on the brand/size. To cut down on cost, buy the wax online – you can get more wax for half the price I paid at the craft store. I checked on Amazon.com, and I found a 5lb bag for $12. If I had purchased this instead, the result would have been closer to $4/candle.

Will you try making your own citronella candles this summer? Do you have any favorite warm-weather DIY activities? Please comment with your thoughts and suggestions below!

Flickr Creative Commons Photos are under this license.


Fun & Easy Burlap DIY/ Home Improvement Ideas!

8610283284_ce59082d19_k(1)

Flickr Creative Commons: Maria Panayiotou

For Easter weekend, we decided to attempt a do-it-yourself (DIY) project using the perfect affordable craft material – burlap! (Having previously worked at a local coffee shop, I had access to a few free burlap coffee bags for this project.)

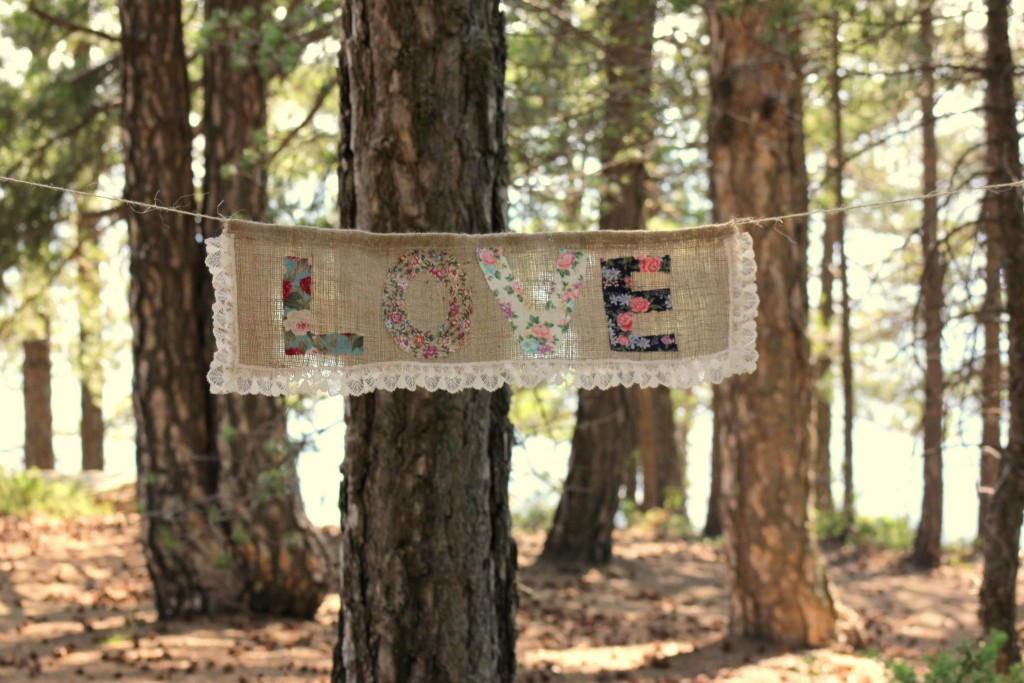
You might not think of burlap as the most visually appealing craft material, but with a little creativity and hard work, we were able to turn the burlap into something beautiful. We created two different decorative items – a simply elegant piece of wall art (using an old cork board) and decorative glass wear. See our step-by-step how-to’s below! For your benefit, we even included two extra ideas from Pinterest that can be easily done for your next DIY weekend challenge. Happy burlapping!

1) Burlap-Covered Bulletin Board
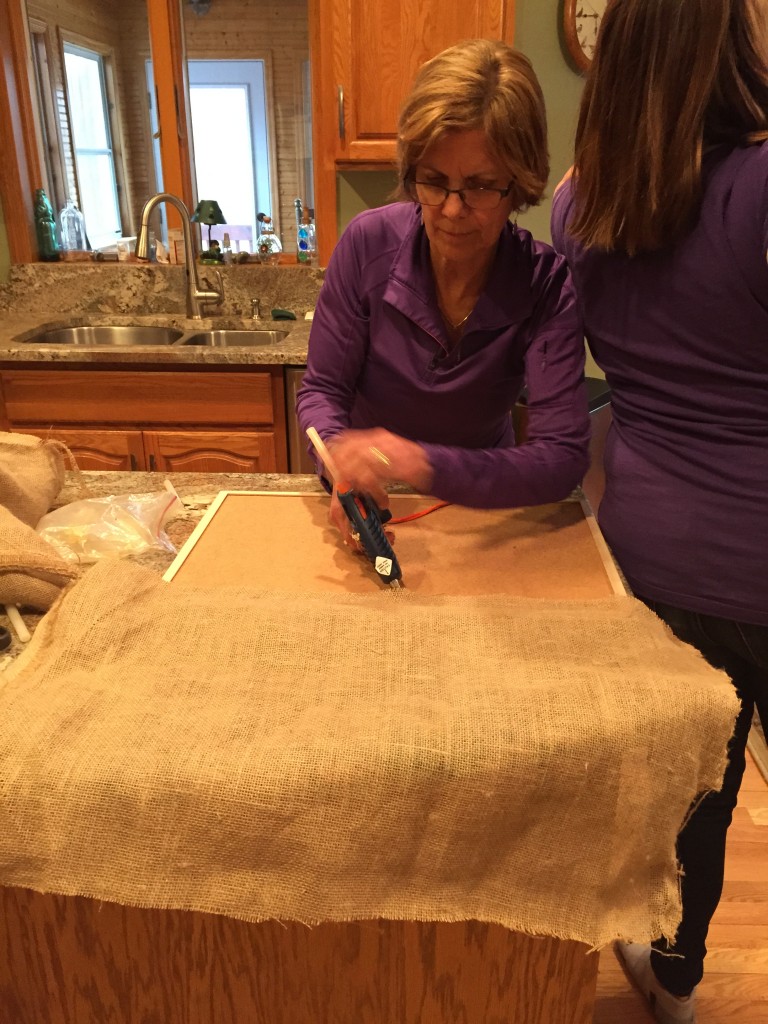
This one was very simple! To complete this project, all you need is a bulletin board (preferably used), burlap, a hot glue gun, and wood stain.

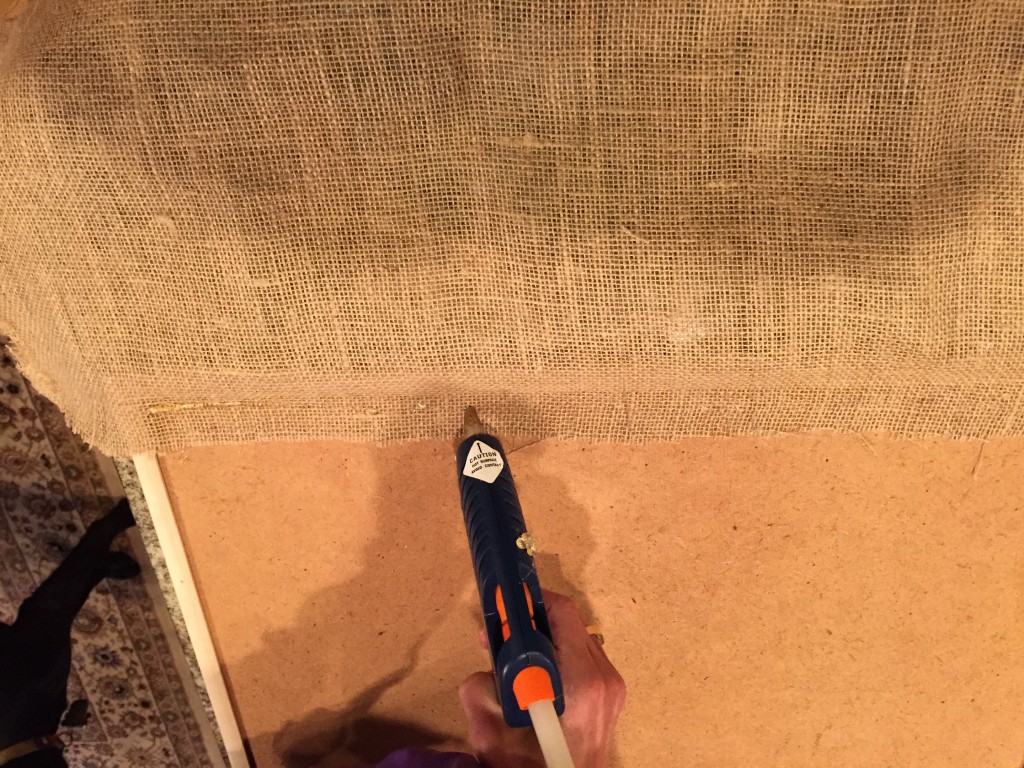
First, measure the burlap out on the bulletin board, to ensure it fits exactly how you would like. Second, cut the burlap down to fit your desired measurements. Third, apply hot glue to the bulletin board. Make sure you start on the sides of the board and adhere the burlap to the glue as you go.

IMG_4353

Next, wait for the glue to dry and attach itself to the burlap (about a minute).

IMG_4356

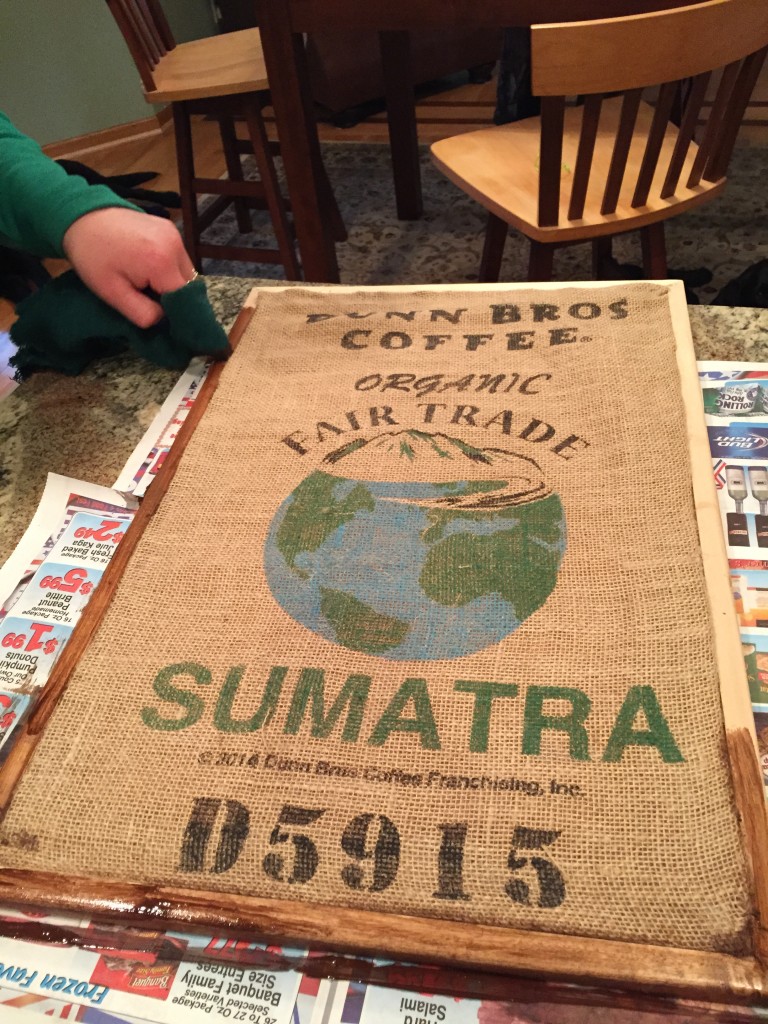
Lastly, take the wood stain and stain the edges of the board to your liking. Wait for the stain to dry overnight and voila – a brand new, one-of-a-kind piece of art! Your next houseguests will be begging you to make a similar piece for them, and you can tell them how simple it was!

IMG_2786

2) Decorative Glasses
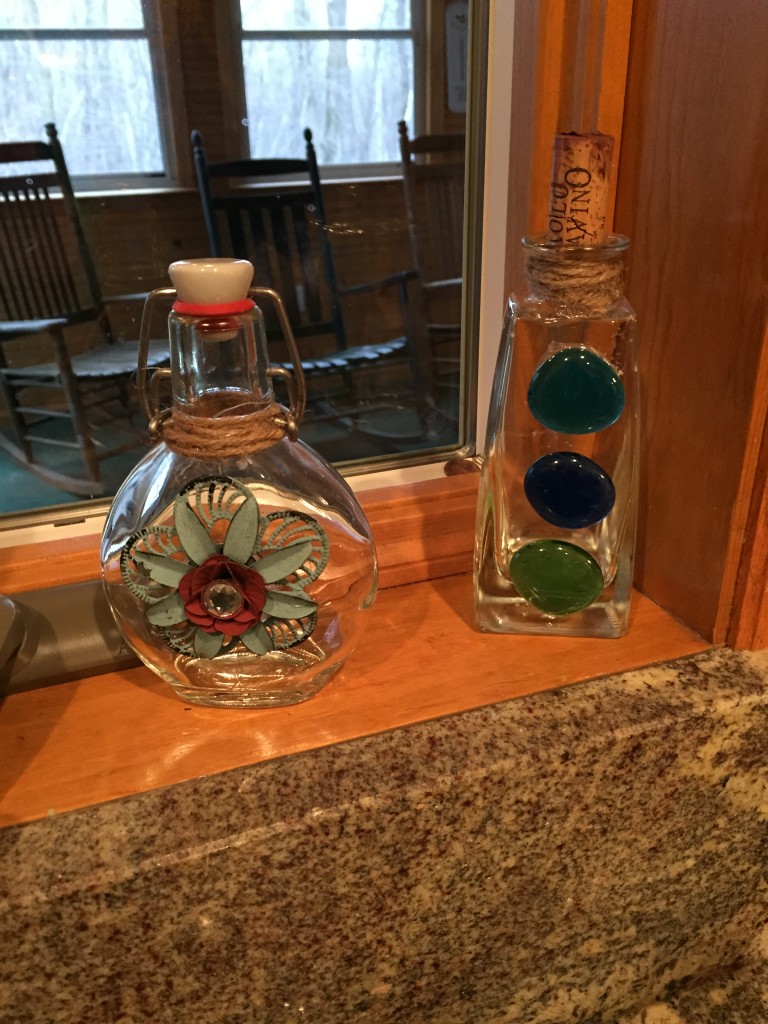
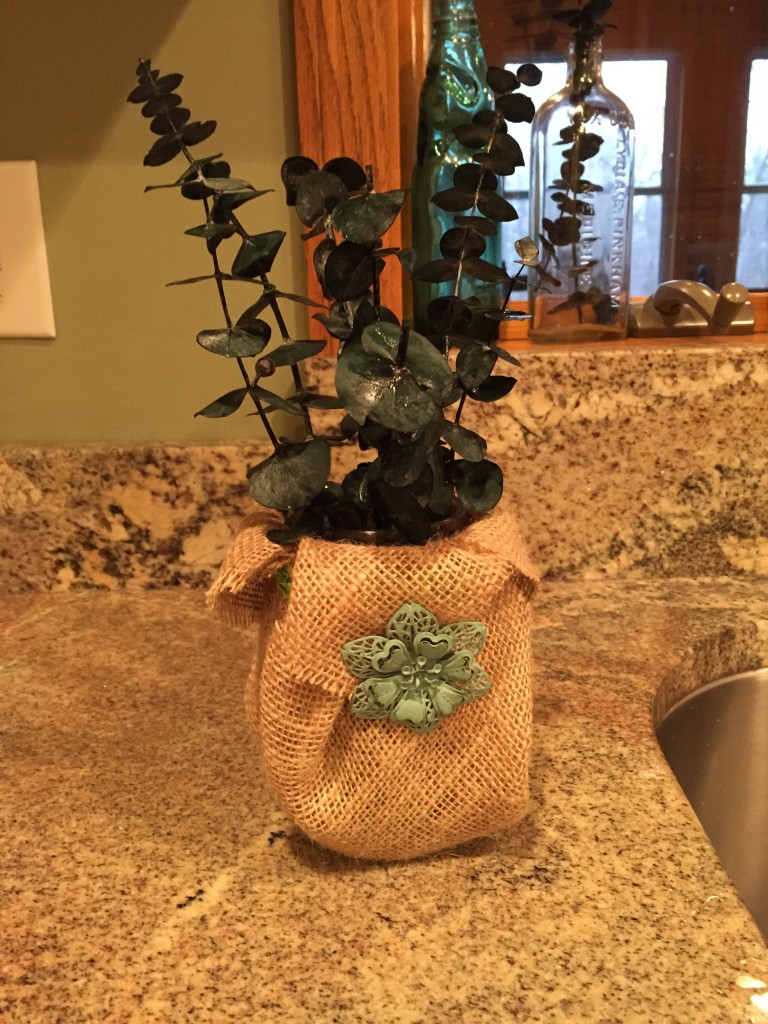
Do you ever have old empty bottles laying around, but you’re not quite sure how to use them? Instead of throwing them away or recycling them, we’ll show you how to “upcycle” them with burlap and turn them into beautiful home decor. Fill them with flowers, beads, or whatever floats your boat!  All you need is a glass bottle, burlap, hot glue gun, and any other decorative items you desire, such as ribbon, lace or faux flowers that you can pick up at any craft store. Since you can fasten them anyway you like, be creative with it! Once you apply the hot glue and adhere your chosen decorations, they will be dry and ready to use within ten minutes. It doesn’t get much more simple than that! Here are three different examples that we made:

IMG_4383IMG_4387

3) Burlap Decorative Pillows
Burlap might not be your first choice for comfy pillows on which to rest your head, but they are still cute! To make your very own decorative pillow, make sure you have finished burlap, as it is easier to sew and work with. Additionally, you’ll need some cotton (or an already-made pillow), lace, and decoration to attach to the burlap. To start, take the burlap and measure out the dimensions of material that you would need (either to form your own pillow or to cover the existing pillow). Then, continue to sew together the sides of the pillow, until three sides of the four are completed. Make sure you are sewing the material inside out (with the less attractive side facing you), as you are going to turn the burlap inside out before placing the cotton or the pillow inside. After you have placed the pillow inside the burlap, sew up the rest of the material. From there you can use the other decorative materials to personalize and decorate your pillow. In case you need more ideas, check out the many different ideas on Pinterest of Burlap Pillows.


4) Table Runners
Here’s yet another easy DIY craft, that’s creative and also tons of fun! For this project, all you need is some finished burlap, hot glue, and decorative pieces. Start by measuring out the size and style of piece that fits your table. Then, using hot glue as the adhesive, decorate the burlap piece with your favorite festive or seasonal items (lace, ribbon, florals, leaves etc.) until they are to your liking, and then you are done! For more ideas and inspiration for your burlap table runners, click here!


We hope that these burlap DIY projects get your creative juices flowing! What are your favorite DIY crafting tips? Share them below in the comments!